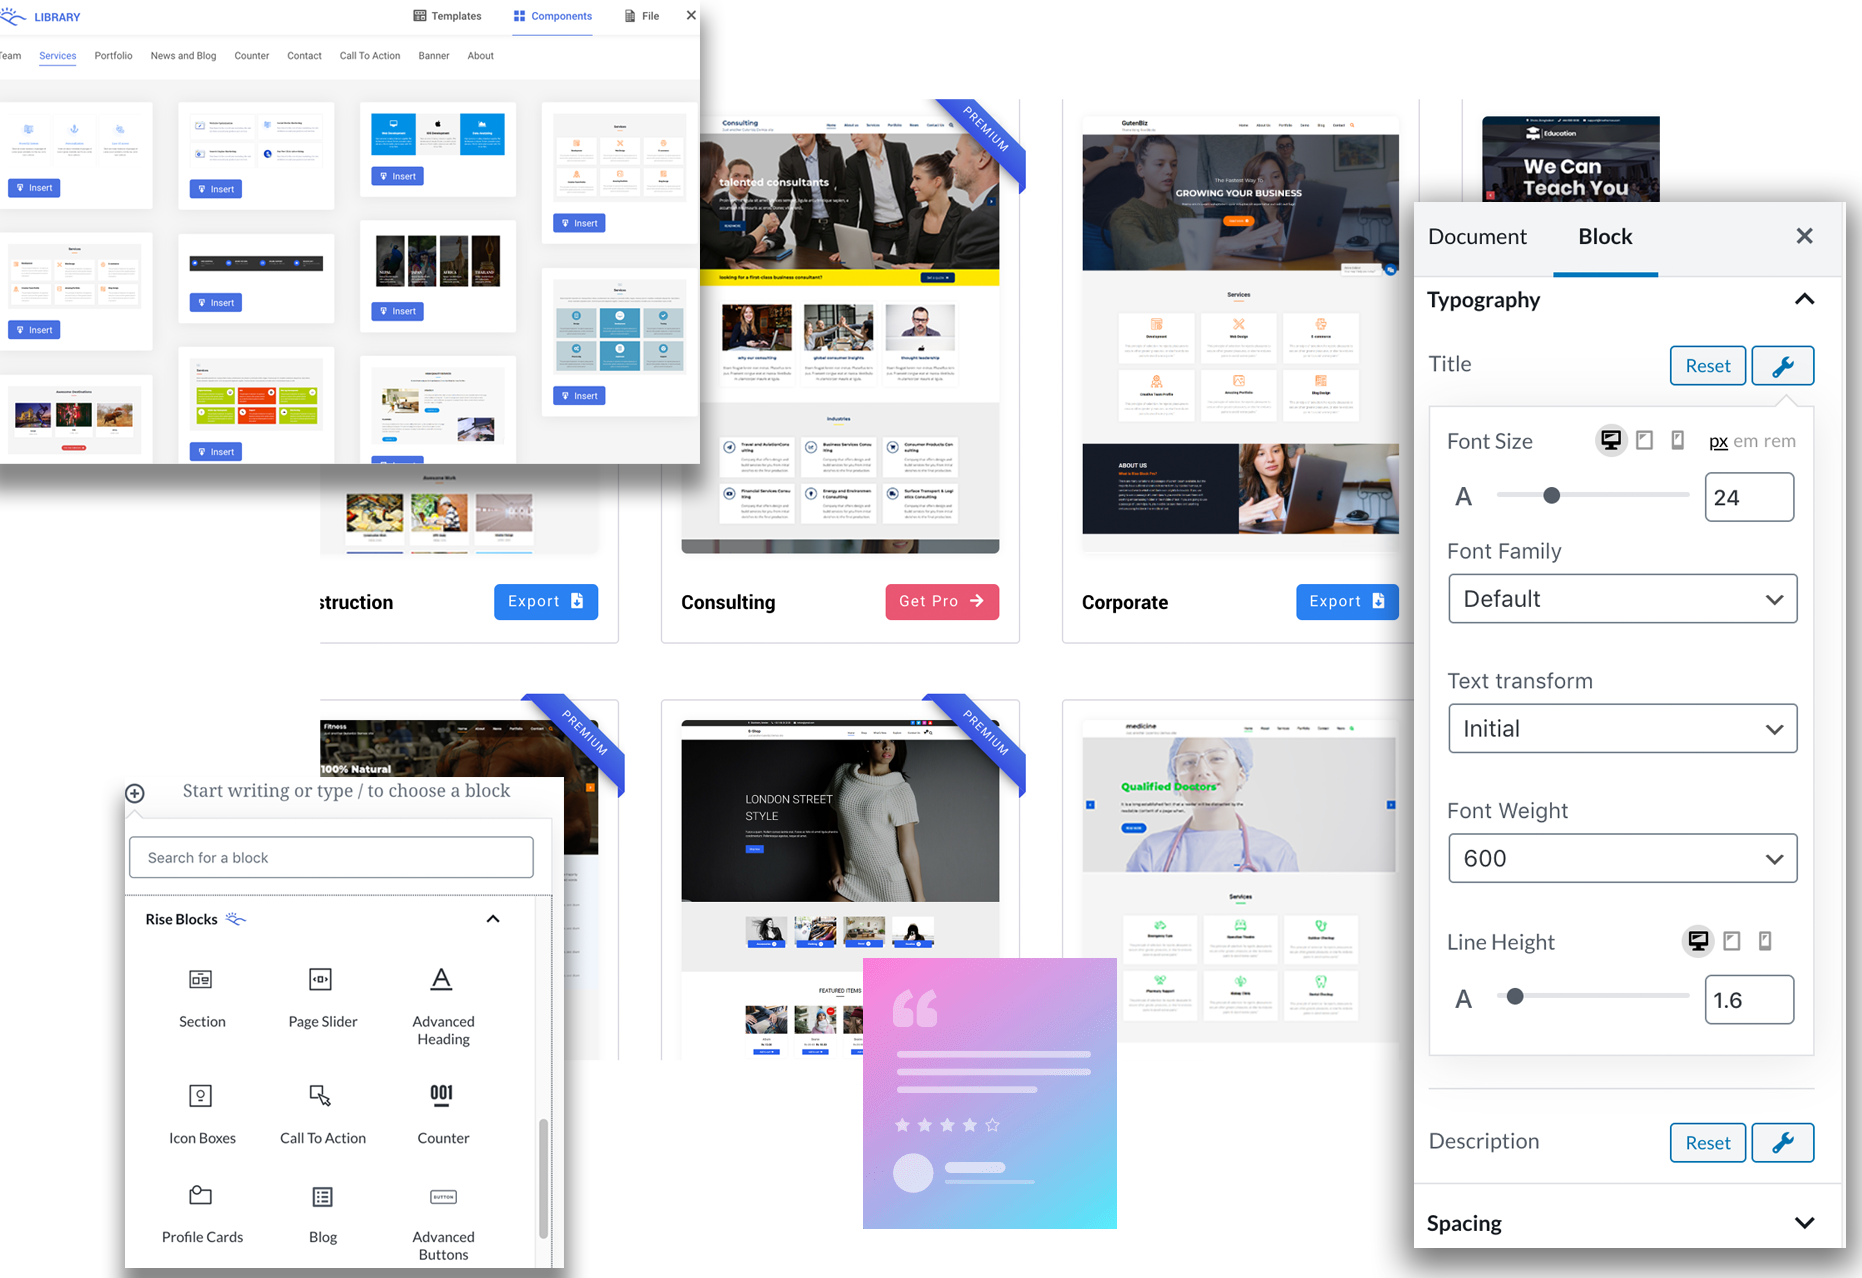
RareBiz is a minimalist multipurpose WordPress theme compatible with the new WordPress Editor along with popular page builders – Elementor. The theme is developed focusing on responsiveness, lightweight, and clean code. You can fully customize the theme and make it unique through a customization option.
This tutorial comes with instructions to help users to configure the Rarebiz options and customize excellent features. After the successful installation of the Rarebiz theme, you can activate and configure the options available here…
Learn to Configure Rarebiz Options
Top Bar
This subsection enables you to get a bar that displays custom text along with a menu at the top of your webpage. To enable the bar, Click RareBiz Options in your WordPress Theme Customization Panel. Click Top bar and toggle the button. It will display the options to modify the top bar.
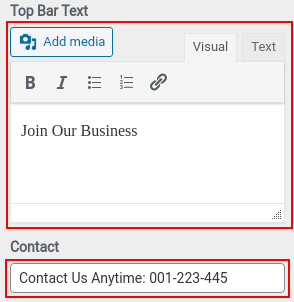
Top Bar Text – Add the desired text in the editor. Use format options to make the text appealing.
Contact – Add contact information.
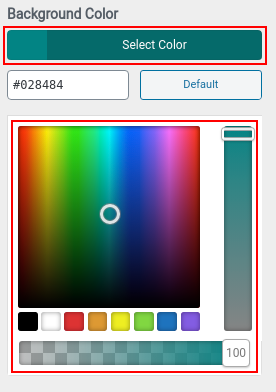
Background Color
- Click Select Color to choose Background color. It will display the color palette.
- Choose the color and then set the desired transparency.
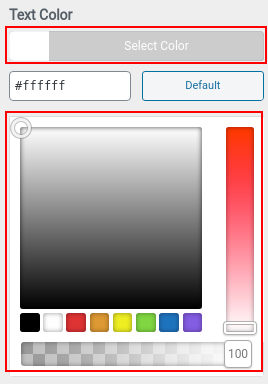
Text Color
- Click Select Color to choose text color. It will display the color palette.
- Choose the color and then set the desired transparency
Header Options
Transparent Header – Enable the option to activate the transparent header otherwise just leave as it is.

Logo and Site Identity Layout – Choose between three different layouts – logo and site identity in left, right and centre-aligned.

Enable Search – Enable the options to get a search bar in the header.

Header Layout – Choose between two Layouts as per your wish.


Background Image
To insert a background image.
- Click on the Select Image button.
- Choose the image from the media library or upload it from your computer.
- Finally, click on the Choose Image button at the right bottom of the dialog box to insert the image.

Background Color
Along with image, you can also use color for the background.
- Click on the Select Color button. It will display the color palette.
- Choose the color and then set transparency.
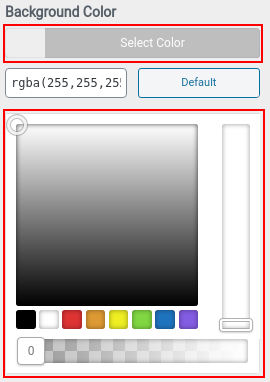
Use both Image and color options to give unique effects in the header.
Homepage Banner
Enable it to get a banner on the homepage. This option works only if the latest post is displayed on the homepage.
Title – Give the title for the homepage.

Description – Give description or subtitle for the homepage.

Open Link in New Tab – Enable it to open the link in a new tab.

Button Type – You can display the button either for external webpage or the website’s posts.
- Custom links (for external webpage) – Write button text and url for primary and secondary buttons.
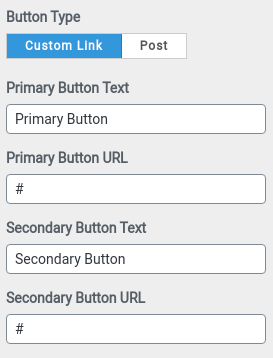
- Posts (for internal website’s posts) – Choose the desired posts from drop down.

Color Options
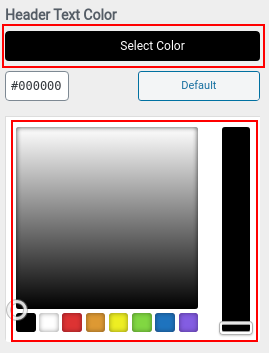
Header Text Color:
- Click on the Select Color button. It will display the color palette.
- Choose the color to set the header text color.
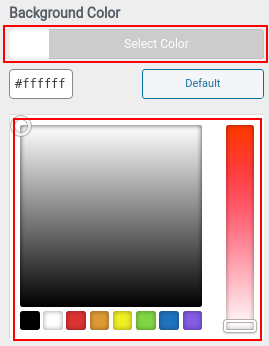
Background Color:
- Click on the Select Color button. It will display the color palette.
- Choose the color to set the background color.
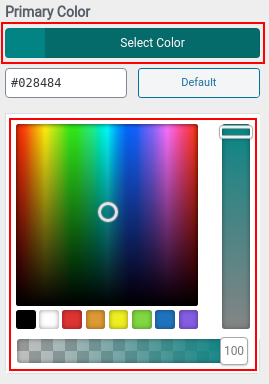
Primary Color:
- Click on the Select Color button. It will display the color palette.
- Choose the color and then set the desired transparency.
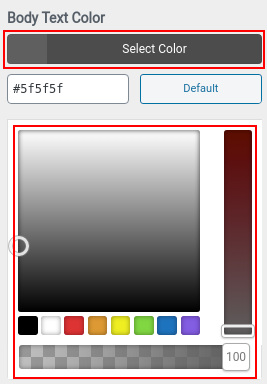
Body Text Color:
- Click on the Select Color button. It will display the color palette.
- Choose the color and then set the desired transparency.
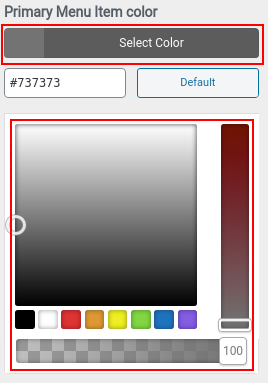
Primary Menu Item Color:
- Click on the Select Color button. It will display the color palette.
- Choose the color to set the primary menu item color.
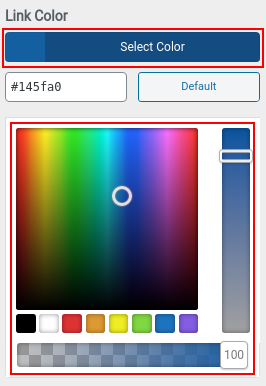
Link Color:
- Click on the Select Color button. It will display the color palette.
- Choose the color and then set the desired transparency.
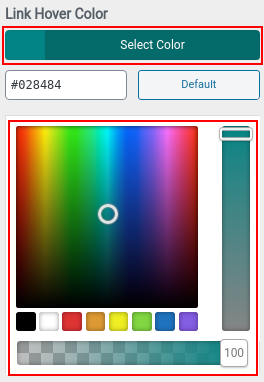
Link Hover Color:
- Click on the Select Color button. It will display the color palette.
- Choose the color and then set the desired transparency.
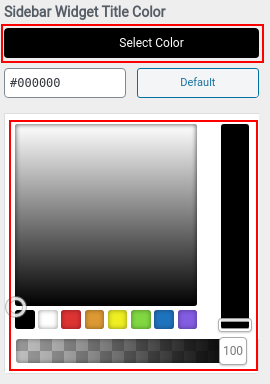
Sidebar Widget Title Color:
- Click on the Select Color button. It will display the color palette.
- Choose the color and then set the desired transparency.
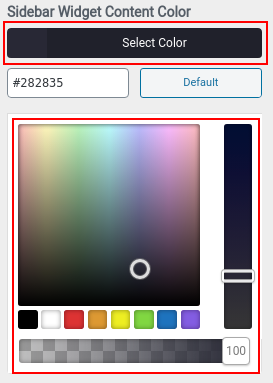
Sidebar Widget Content Color:
- Click on the Select Color button. It will display the color palette.
- Choose the color and then set the desired transparency.
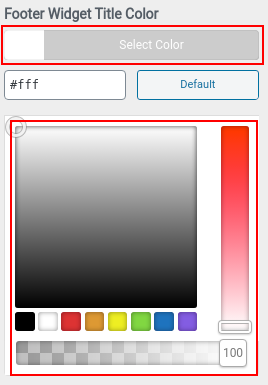
Footer Widget Title Color:
- Click on the Select Color button. It will display the color palette.
- Choose the color and then set the desired transparency.
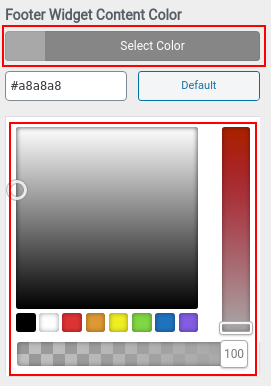
Footer Widget Content Color:
- Click on the Select Color button. It will display the color palette.
- Choose the color and then set the desired transparency.
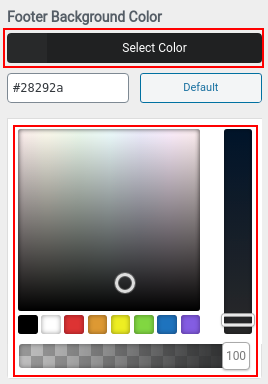
Footer Background Color:
- Click on the Select Color button. It will display the color palette.
- Choose the color and then set the desired transparency.
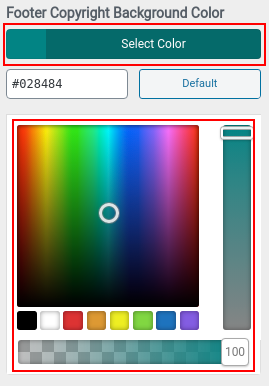
Footer Copyright Background Color:
- Click on the Select Color button. It will display the color palette.
- Choose the color and then set the desired transparency.
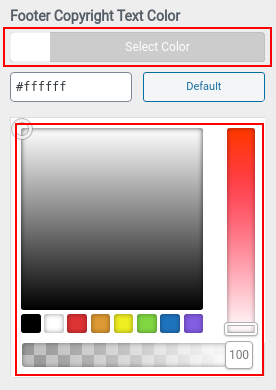
Footer Copyright Text Color:
- Click on the Select Color button. It will display the color palette.
- Choose the color and then set the desired transparency.
Breadcrumb Options
Show Breadcrumb: Enable this option to show Breadcrum in the webpage.

Separator: The theme provides 5 different separators. Click the desired separator to choose and display in the breadcrumb.

Font Size:
- Insert the desired font size from 1 to 60.
- For the mobile and tablet version, click monitor icons right of the subsection title.
- You will get icons of mobile and tablet.
- Click on the respective icon to set the appropriate font size

Inner Banner Options in Rarebiz:
The inner Banner is displayed in every single page and post just after the heading section.
Adding Inner Banner Image
- Click the Add new image button.

- Choose an image from the media gallery or upload from the computer. (best size is 1366*400)
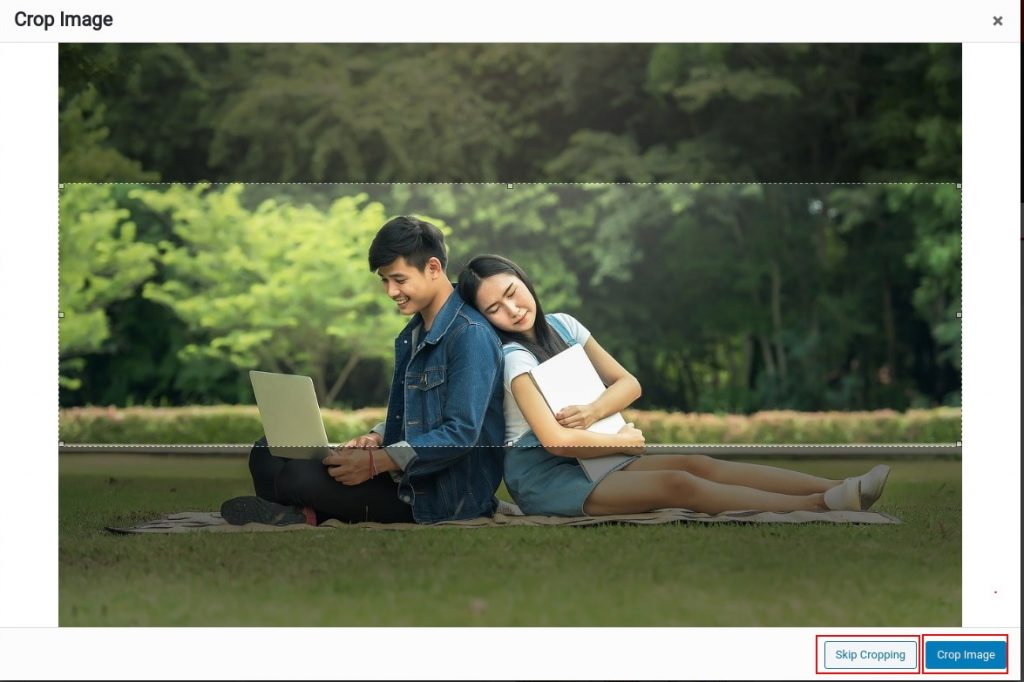
- Click the select and crop button.
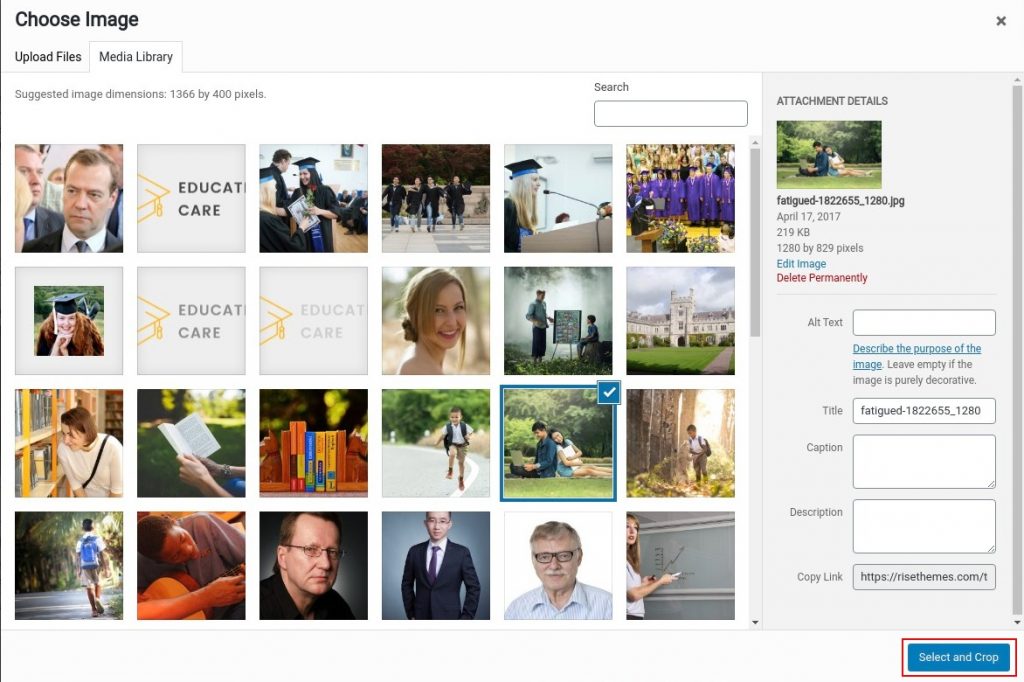
- You will get an option to crop the image. You can skip it or crop it to the recommended size. Click the desired outcome.
If you don’t want to show the banner image then you can simply remove the image from Current header section by clicking Hide image button.

Font Size:
- Set the desired font size for the post title.
- For mobile and tablet,
- Click monitor icons right of the subsection title. You will get icons of mobile and tablet.
- Click on the respective icon to set the appropriate font size.

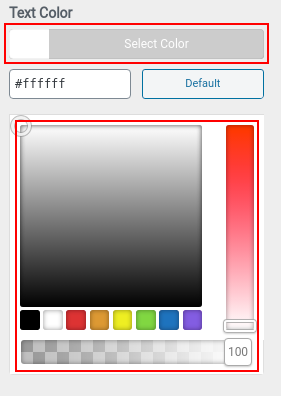
Text Color:
- Click on the Select Color button. It will display the color palette.
- Choose the desired color. You can also set a transparency level.
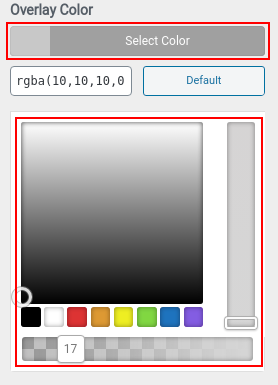
Overlay Color:
- Set this option to set overlay for the banner image.
- Click on the Select Color button. It will display the color palette.
- Choose the color and then set the desired transparency.
Alignment: Set the alignment of the title (left, center, right) to display in the banner.

Image Attachment: Set the desired attachment style (scroll, fixed) for the image.

Full Page Banner
- Enable this option to show banner full page.

- If this option is disabled, then you can set the height of the banner.
- Set the height of the banner in the number box
- For mobile and tablet, click monitor icon right of the subsection title. It will display icons of mobile and tablet.
- Click on the respective icon to set the appropriate height.

Enable Scroll Down Button
Enable this option to activate scroll down button. This feature works only when full banner is enabled.

Enabling this feature give you additional options to modify scroll down button.
- Select Icon – The theme is equipped with five different down arrow that you can choose from.

- Position – Set the position of the Scroll Down Button (left, Center, Right).

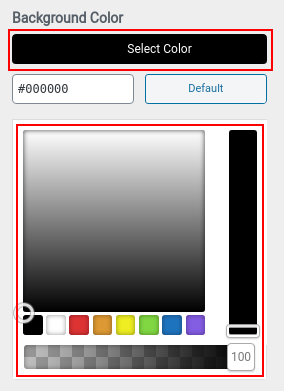
- Background Color –
- Click on the Select Color button. It will display the color palette.
- Choose the color and then set the desired transparency.
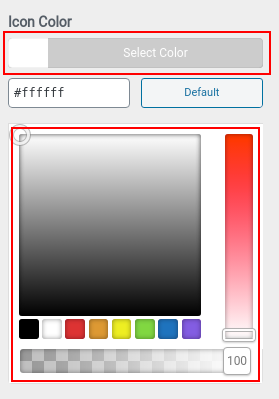
- Icon Color –
- Click on the Select Color button. It will display the color palette.
- Choose the color and then set the desired transparency.
- Button Border Radius – Select the radius for the button (0 to 100, 0 for rectangle and 100 for circle)

- Size –
- Set the size of the button.
- For mobile and tablet, click monitor icon right of the subsection title. It will display icons of mobile and tablet.
- Click on the respective icon to set the appropriate height.

- Icon Size – Select the size for the icon.

Footer Options
Background Image – click select image. Choose the desired image and then click on choose image.

Footer Layout – Choose the layout option from one column to four columns for the footer. You can add widgets to display in these columns.

Footer Copyright – Insert the copyright text.

Author Text – Write the author’s name to display on the website.

Post Options
Customize how you would like to display the posts in the archive page. You can enable or disable the following options in this section.
- Categories – Enable this option to show category in Page/ Post lists
- Date – Enable this option to show date in Page/ Post lists
- Author – Enable this option to show the author’s name in Page/ Post list
- Excerpt Length: Mention the length of the Excerpt for the posts in the archive page

Sidebar Options in Rarebiz
Sidebar Position: Display the sidebar at either left, or right. Choose none to hide the sidebar.

Advanced Options
Show Preloader: Enable this option to display a preloader until the content of the web page gets displayed.

Assets Version: Choose between the development or production option. Development option shows unminified version of JS and CSS while the Production option displays minified version.

Site Layout: Choose between full width (default) layout or boxed for the website.

Container Width: Set the container width. The default value is 1140.

Reset Options:
If you think all the customization is not working while configuring with Rarebiz or as it seems to be then you can reset the options with just a click.

Note: For Demo Import please see this article, and go to “Creating awesome homepage instantly using Rise Blocks” section. Still confused contact our support team.

